
Welcome readers! Are you considering getting ceramic window tint for your vehicle? If so, you’re making a great choice. Ceramic window tint in Melbourne offers numerous benefits, including heat reduction, UV ray protection, and enhanced privacy. In this blog post, we will guide you through the professional installation process, ensuring you have a smooth and hassle-free experience.
Preparing for the Installation
When it comes to installing ceramic window tint, it’s crucial to choose a professional installer. While DIY kits may seem tempting, they often result in subpar outcomes and can damage your windows. To ensure a high-quality installation, take the time to research and select a reputable window tinting company in your area. Read online reviews, ask for recommendations from friends or family, and check their certifications and experience.
Once you’ve found the right installer, schedule an appointment in advance. This will ensure that you get a convenient time slot and give the installer time to prepare for your vehicle’s specific requirements.
What to Bring or Prepare Beforehand
Before heading to your installation appointment, there are a few items you should bring along. First and foremost, make sure you have all your vehicle documents, such as registration and insurance. Some window tinting companies may require these for their records.
Additionally, consider bringing a shade selection preference. If you have a specific darkness level in mind, communicate this to the installer beforehand. They will guide you through the options and help you choose the shade that best suits your needs and local regulations.
To ensure a seamless installation process, it’s a good idea to clean your windows beforehand. This will remove any dirt, dust, or debris that may hinder the adhesion of the ceramic tint. Use a non-ammonia-based glass cleaner and a lint-free cloth for best results.
The Day of the Installation
On the day of your appointment, be prepared for what to expect. The window tinting company will provide you with an estimated arrival time, so make sure you’re ready for their arrival. If possible, park your vehicle in a shaded area to prevent direct sunlight from interfering with the installation process.
Most professional installers have designated waiting areas where you can relax while your ceramic window tint Melbourne is being applied. Some companies may even offer amenities such as Wi-Fi, TV, or refreshments to make your wait more comfortable.
The duration of the installation process can vary depending on various factors, such as the size of your vehicle and the complexity of the job. Typically, installation takes a few hours. However, it’s always a good idea to ask your installer for a more accurate estimate to plan your day accordingly.
Removal and Preparation Process
If your vehicle already has old window film installed, it will need to be removed before applying the new ceramic tint. This step is crucial to ensure optimal results and prevent any bubbling or peeling of the new tint. Professional installers have the knowledge and expertise to remove the old film without damaging your windows.
The removal process involves using specialised tools to carefully peel off the old film. Once the film is removed, the installer will thoroughly clean the windows to remove any residual adhesive or film particles. This step is essential for creating a clean surface for the new ceramic tint to adhere to.
Application Process
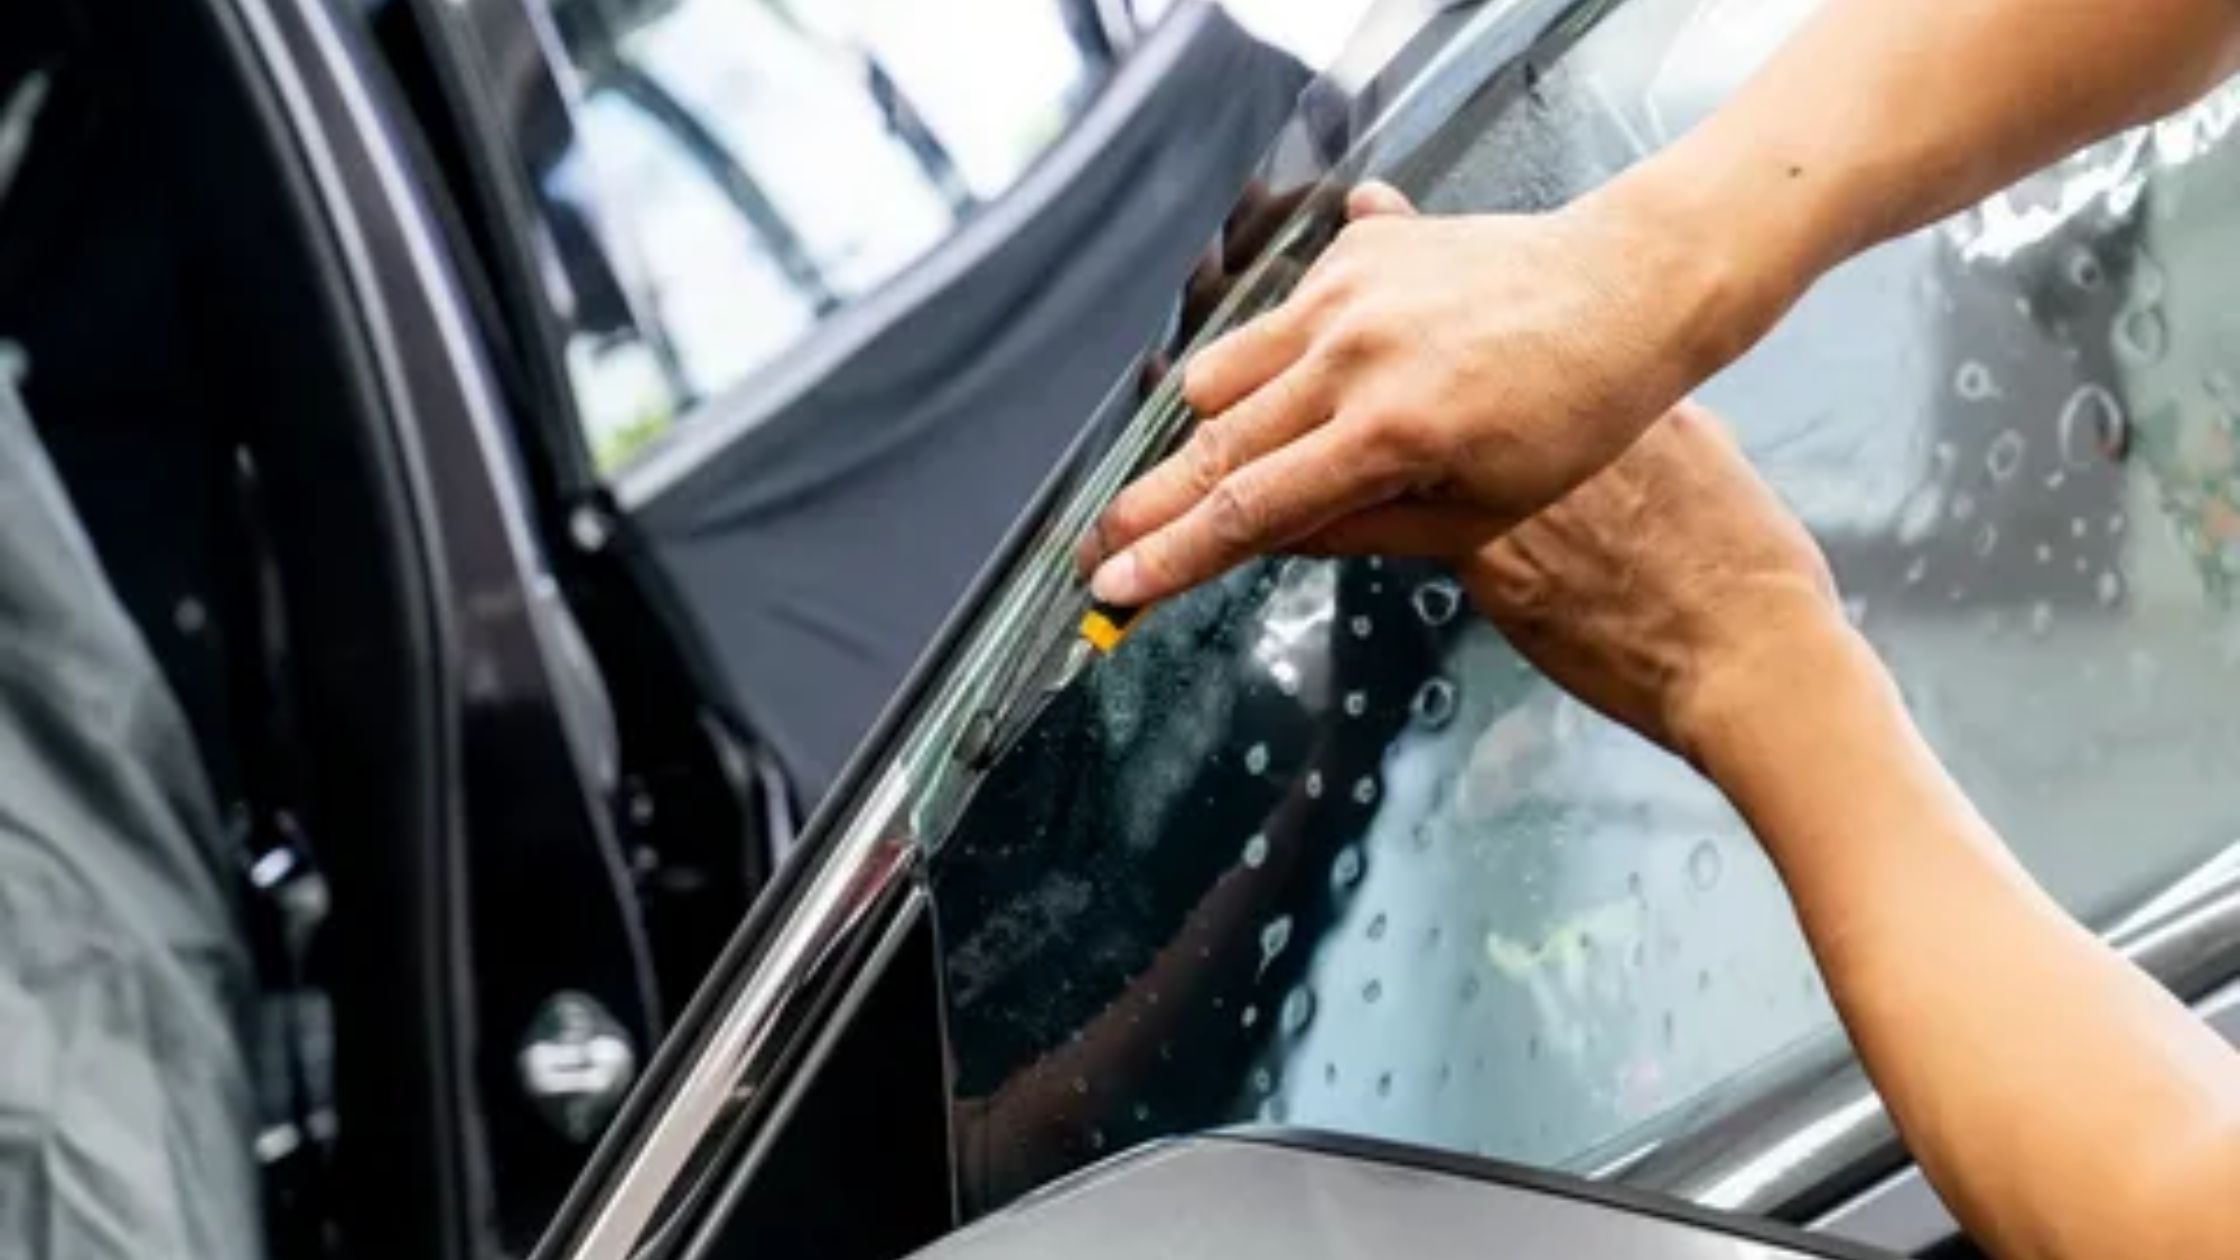
Now comes the exciting part – the application of the ceramic window tint. Professional installers are skilled in using specialised techniques and tools to ensure a precise and bubble-free application. They will carefully measure and cut the tint to fit your windows perfectly.
The installer will then apply the ceramic tint to your windows, starting from the top and working their way down. They will use a squeegee to remove any air bubbles and ensure a smooth, even application. Throughout the process, they will pay attention to every detail, ensuring a flawless finish.
Drying Time and Aftercare Instructions
After the installation is complete, it’s important to allow the ceramic tint to dry properly before rolling down your windows or cleaning them. The drying time can vary depending on the weather conditions, but it typically takes around two to four days. Your installer will provide you with specific instructions regarding the drying time for your particular installation. During this period, avoid touching or tampering with the tint to allow it to adhere fully.
Once the tint is fully dried, you can enjoy the benefits of your newly installed ceramic window tint Melbourne. However, it’s essential to follow proper aftercare instructions to maintain its longevity and appearance. Avoid using harsh cleaners or abrasive materials when cleaning your windows. Instead, use a mild soap or window cleaner and a soft, lint-free cloth or sponge. Regularly cleaning your windows will keep them looking fresh and ensure optimal performance.
Conclusion:
By opting for professional installation, you’ve made a wise choice that will provide you with numerous benefits. Throughout this blog post, we’ve guided you through the process of preparing for the installation, what to expect on the day, and proper aftercare instructions.
Remember, choosing a reputable window tinting company is crucial for achieving the best results. They have the knowledge, experience, and specialised tools needed to ensure a precise and bubble-free application. Enjoy your newly tinted windows and revel in the comfort, privacy, and UV protection they provide. Stay cool and protected on the road!